Everything you need to know about the main screen.
📱 Screenshots show the Android app — iPhone screenshots are coming soon.
The List tab is where you spend most of your time. It's split into two sections — To Buy at the top and In Basket below — with the name of your current list in the top-left corner and a floating mic button for adding by voice.
From left to right:
You're not limited to one list. Tap the list name in the top-left and the Lists sheet opens — your groceries, the hardware run, the holiday shop, up to 25 lists in all.
From the same sheet you can create a New list, rename or delete lists, and share a list with someone else (up to 5 shared at once). The full tour is in Lists & Sharing.
This is your active list — everything you still need to pick up. Items appear here as soon as you tap them in the Catalog.
Items are grouped by category (Produce, Dairy, etc.) so you can work your way through the shop aisle by aisle.
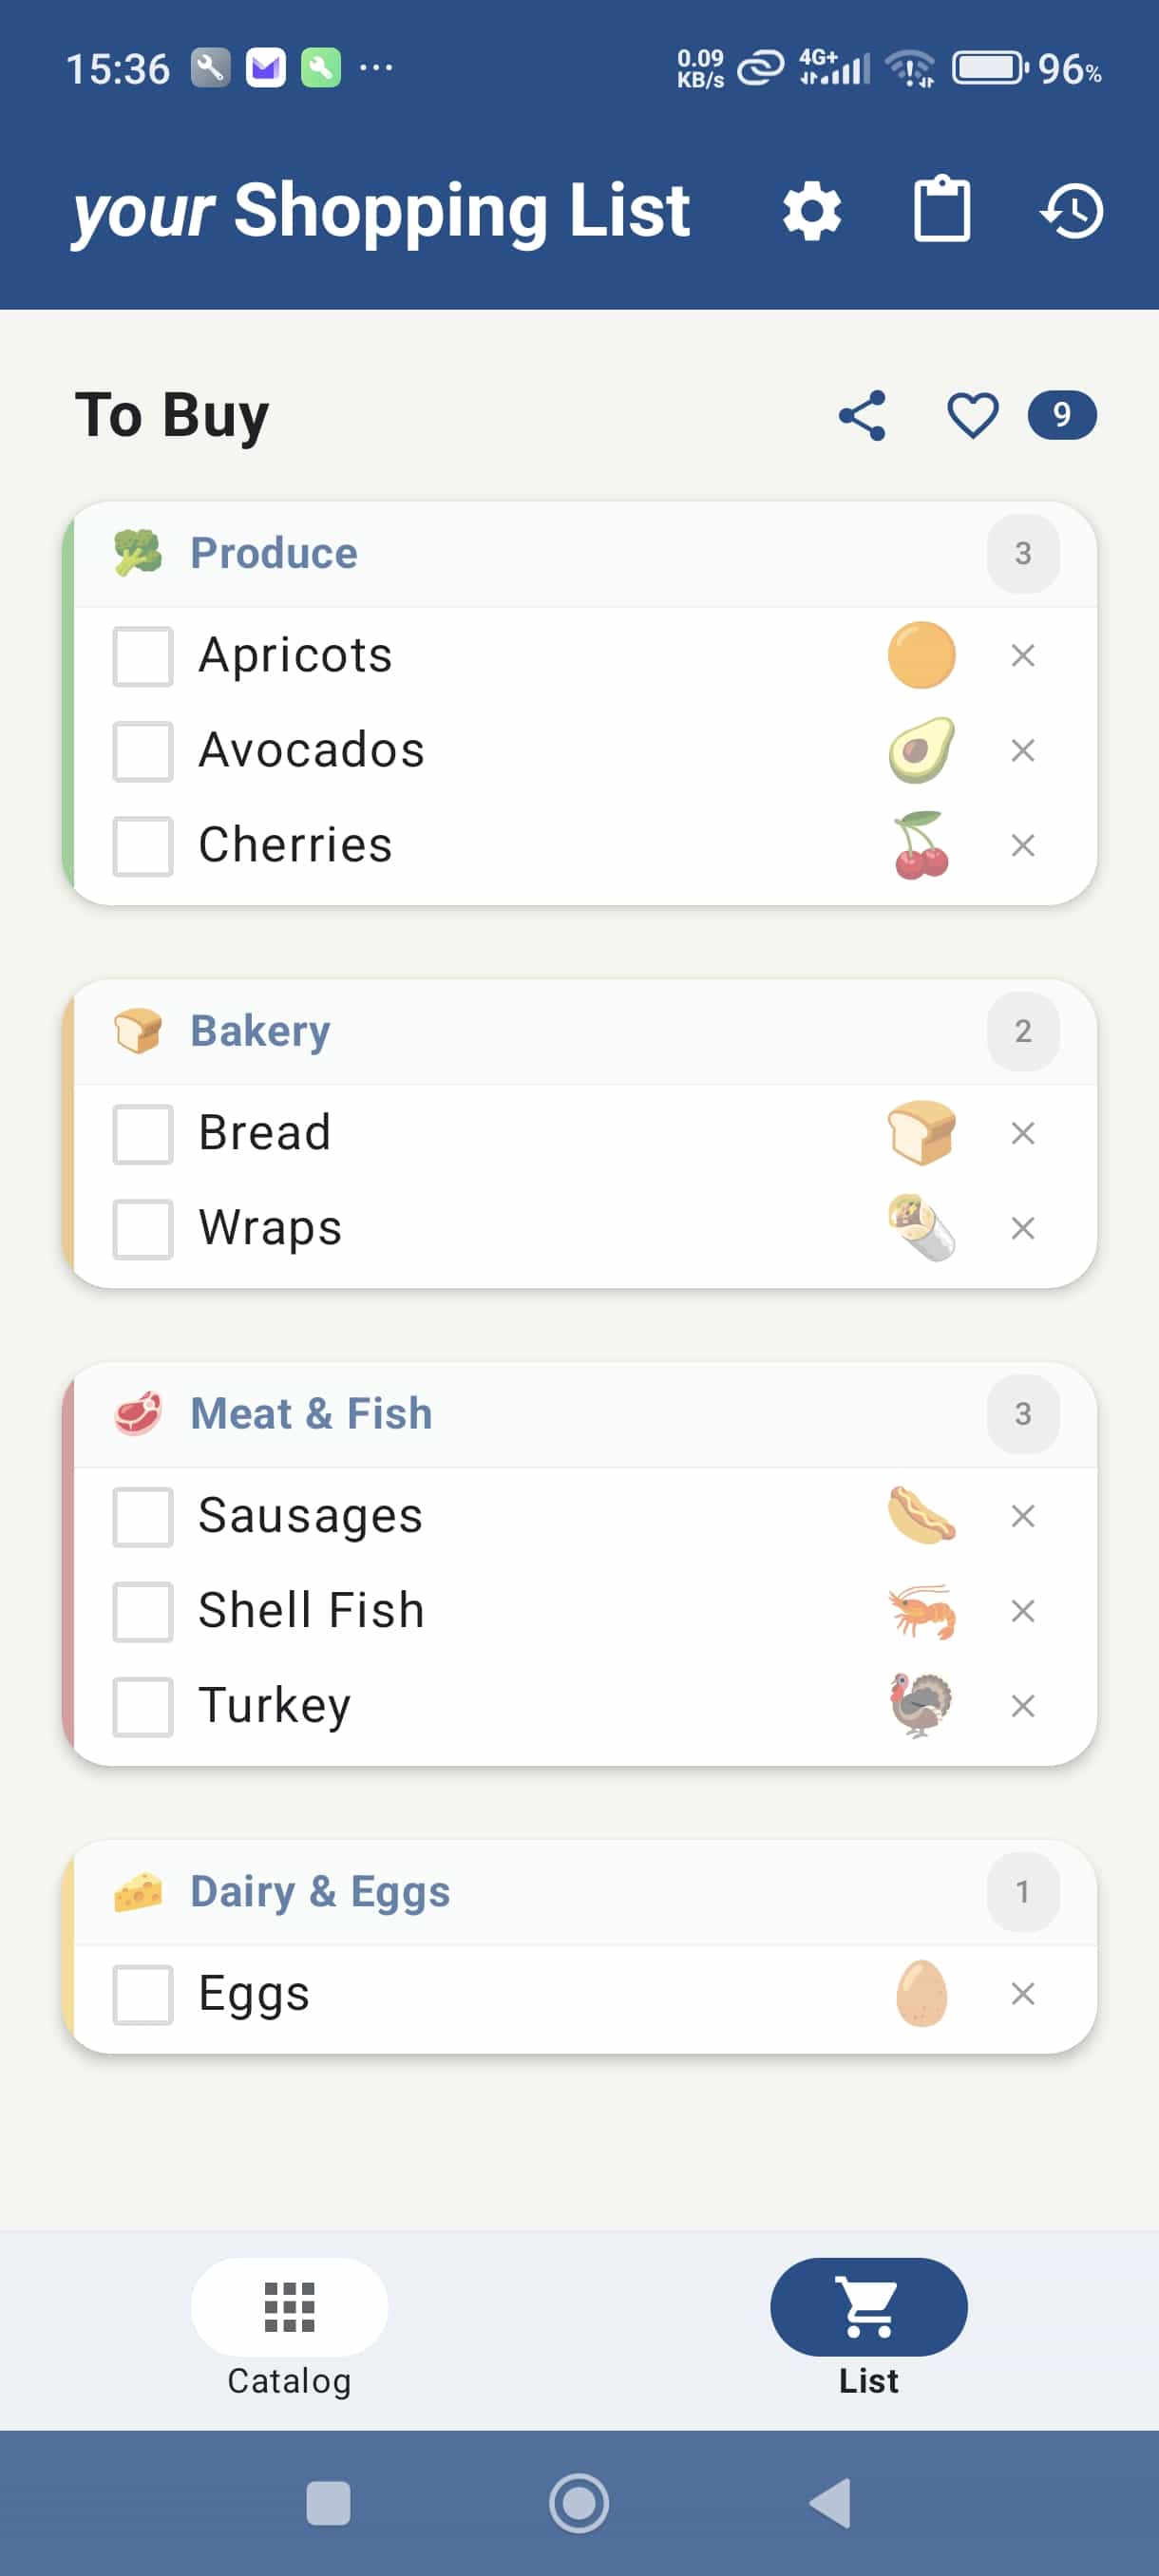
Long-press any item (or tap its ×N badge if it already has one) to open the quantity editor: type a number, tap a preset chip, and pick a unit.
Quantities also arrive automatically from voice ("2 kg potatoes"), recipes, and barcode re-scans.
The round mic button floating over your list is voice input: tap it and say what you need — "milk, bread and a dozen eggs" adds all three.
It's in your way? Drag it anywhere in the lower half of the screen — it stays where you put it. Everything else about voice is in the Voice Input guide.
If you use the Pantry, your list quietly keeps an eye on home stock: a "Running low" chip appears when something drops below your threshold, and an expiry banner warns when food is about to go off — orange for soon, red for already expired.
Tap either to jump to the Pantry, or dismiss them for the session.
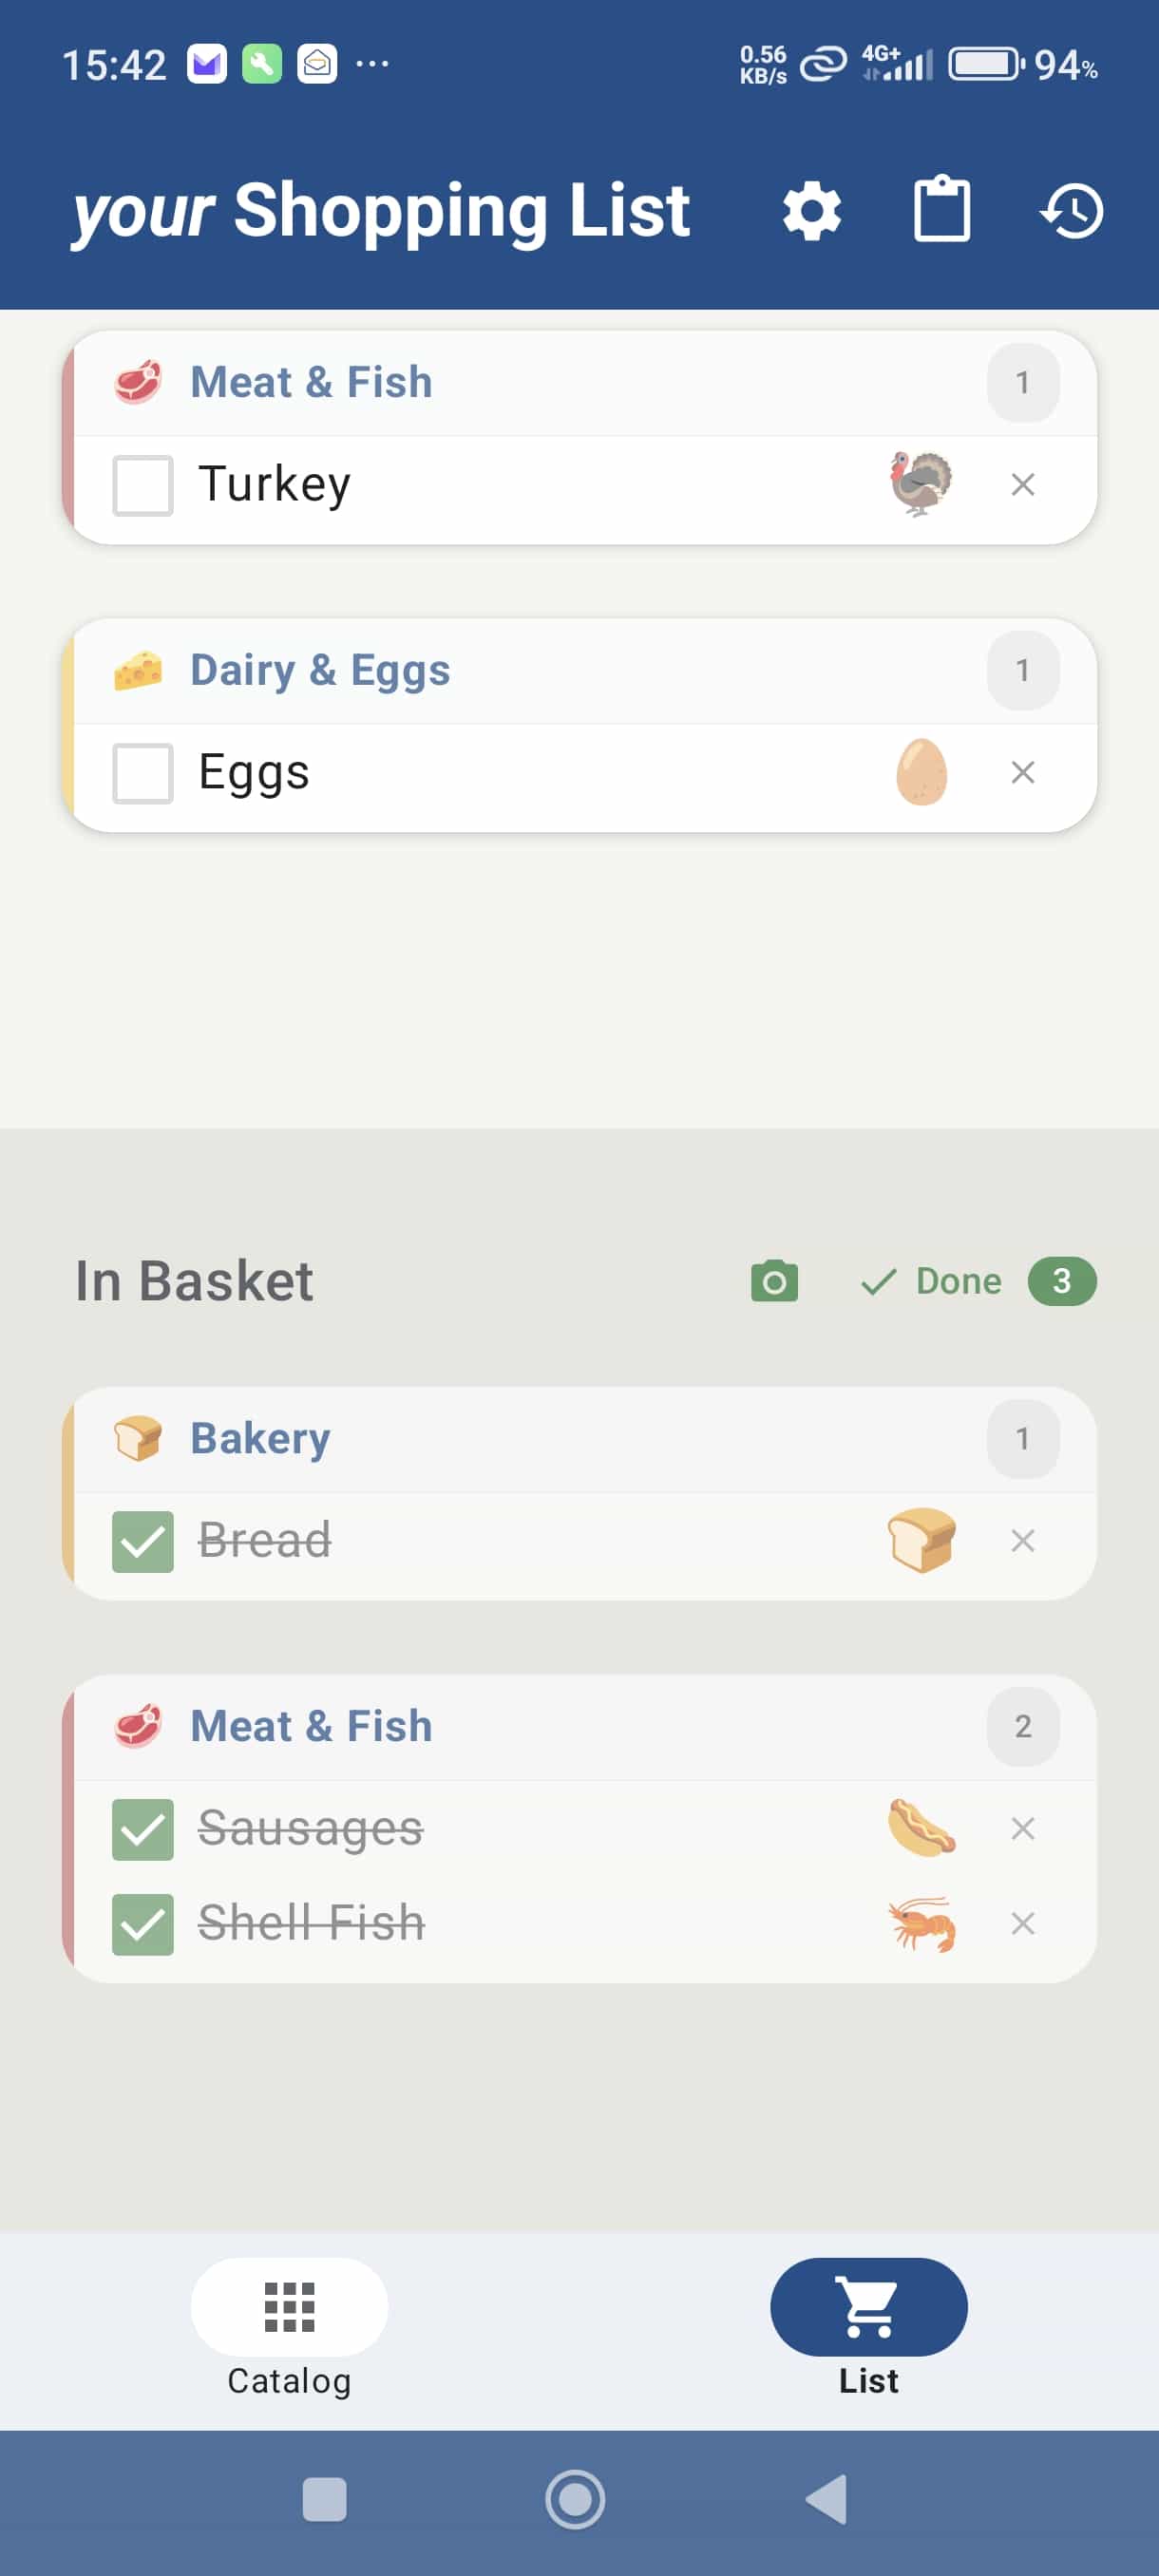
Tap the item as you put the physical item into your trolley or basket. The item immediately moves down to the In Basket section.
Changed your mind? Tap the item in In Basket to move it back up to To Buy. Nothing is permanent until you tap Done.
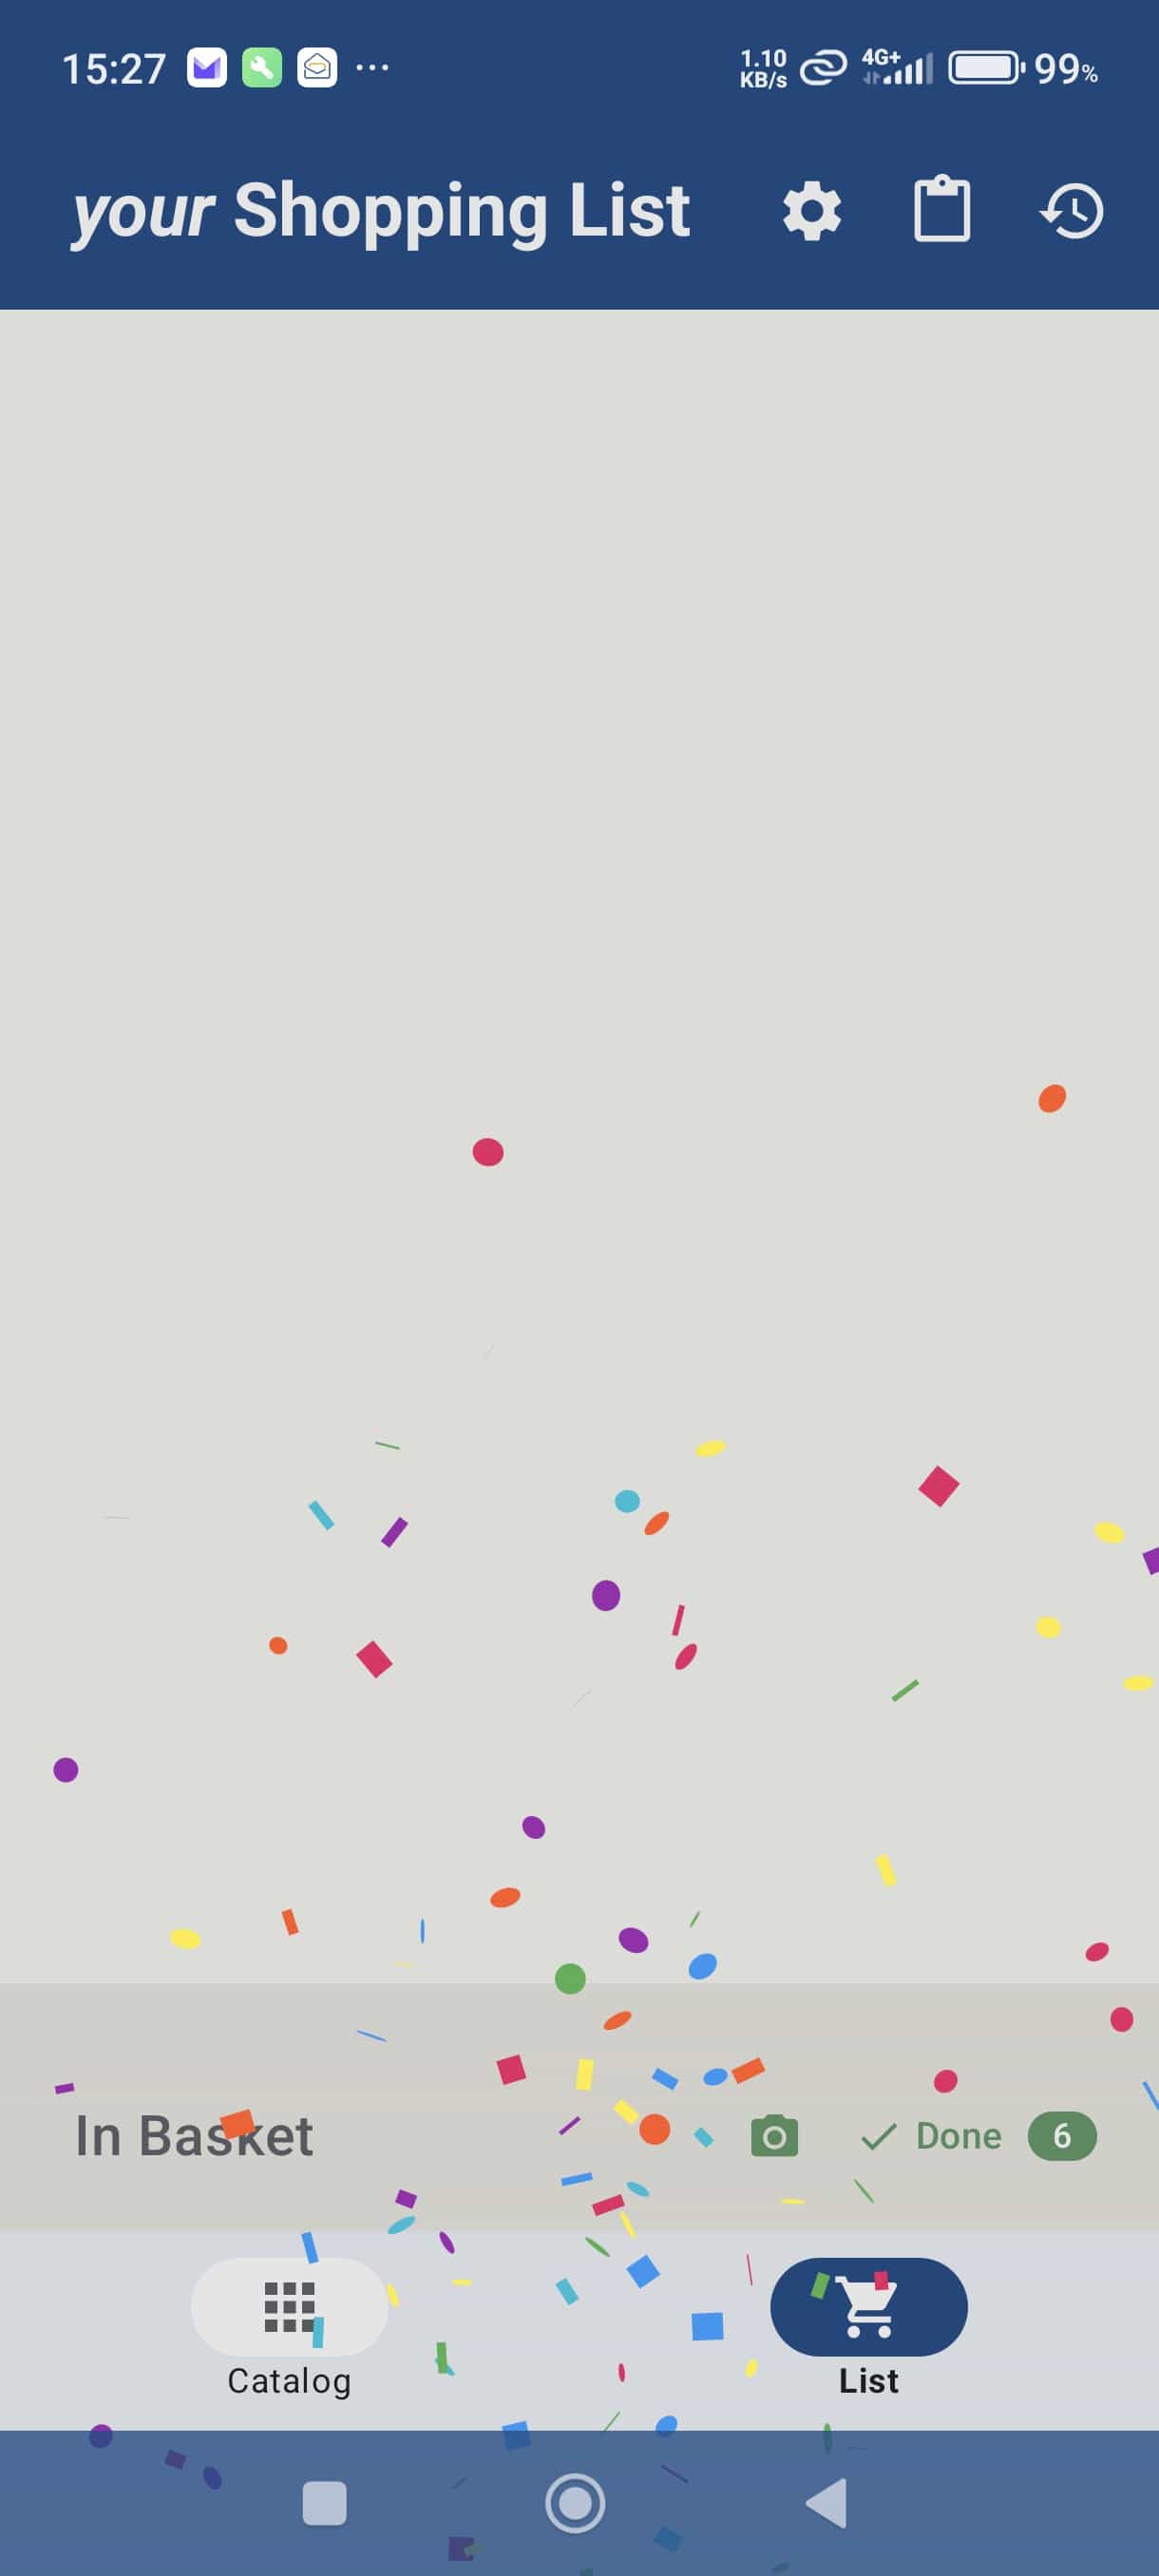
When the last item is ticked off, a celebration plays. Tap ✓ Done and three things happen:
If you want to wipe the list without saving it to History, tap the "x" to the right of each item.
Your shopping list works completely offline. No internet connection needed — your data is stored on your phone.
Related guides: Lists & Sharing · Voice Input · Pantry